
 |  |
I decided to make my own curing oven for Cerekote. I wanted something large enough to cure up to 30 inch barrel and have room to cure all parts going on an AR-15.
I was going to build the cabinet myself but after some research and looking for steel I decided I would be money and time ahead to just find a cabinet that would work. Here is a parts list of what I used to build my oven.
PID controller with thermocouple and ssr
Electric oven element
Contactor
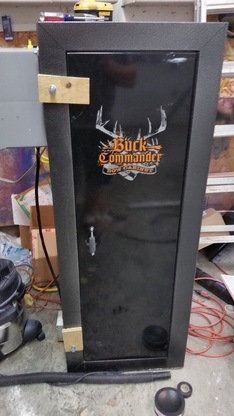
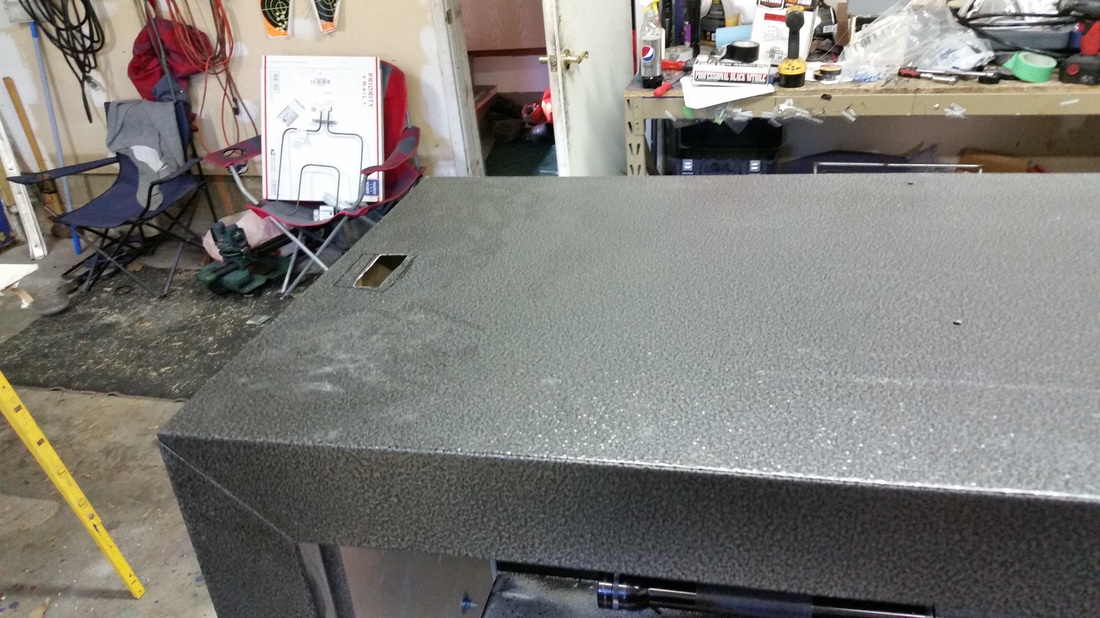
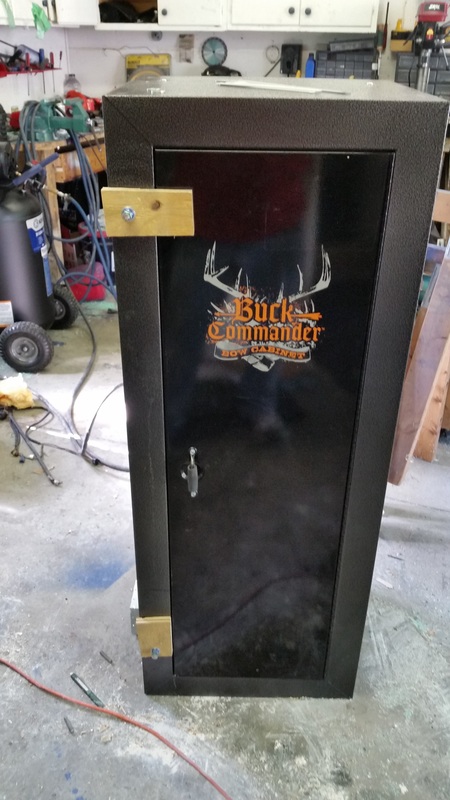
Stack-On® 21" Buck Commander Bow and Gear Storage Cabinet
1- 4x8 sheet of 5/8 drywall I needed more to do door but at this point it is working fine without it on the door.
Duct insulation
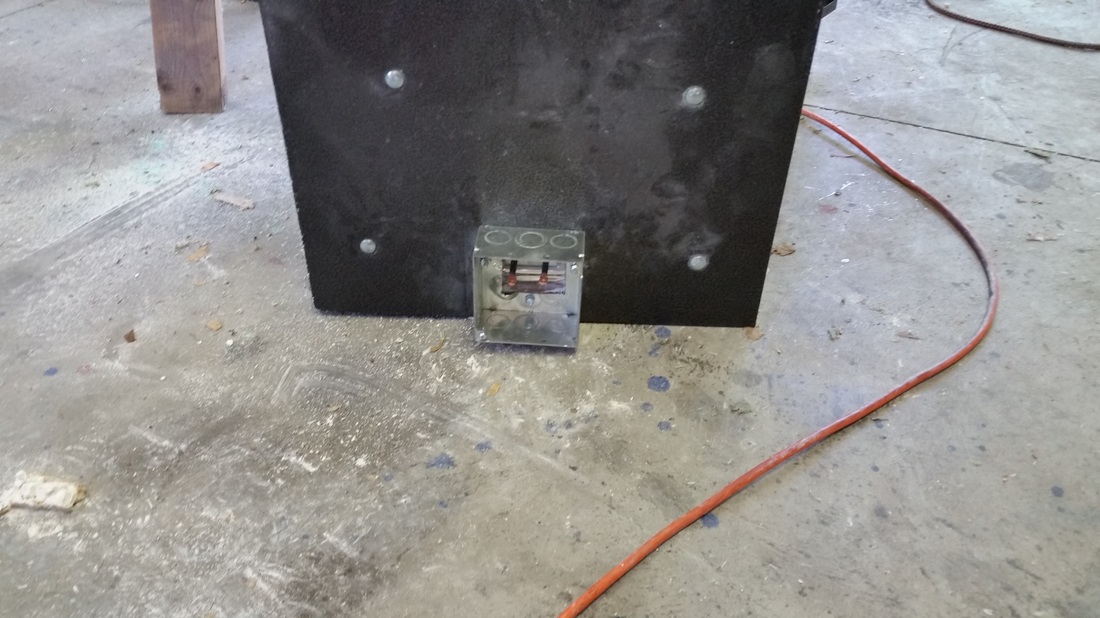
Electrical junction box
15 amp standard light switch
220 oven/drier cord
Shelf hangers
Misc bolts and hardware.
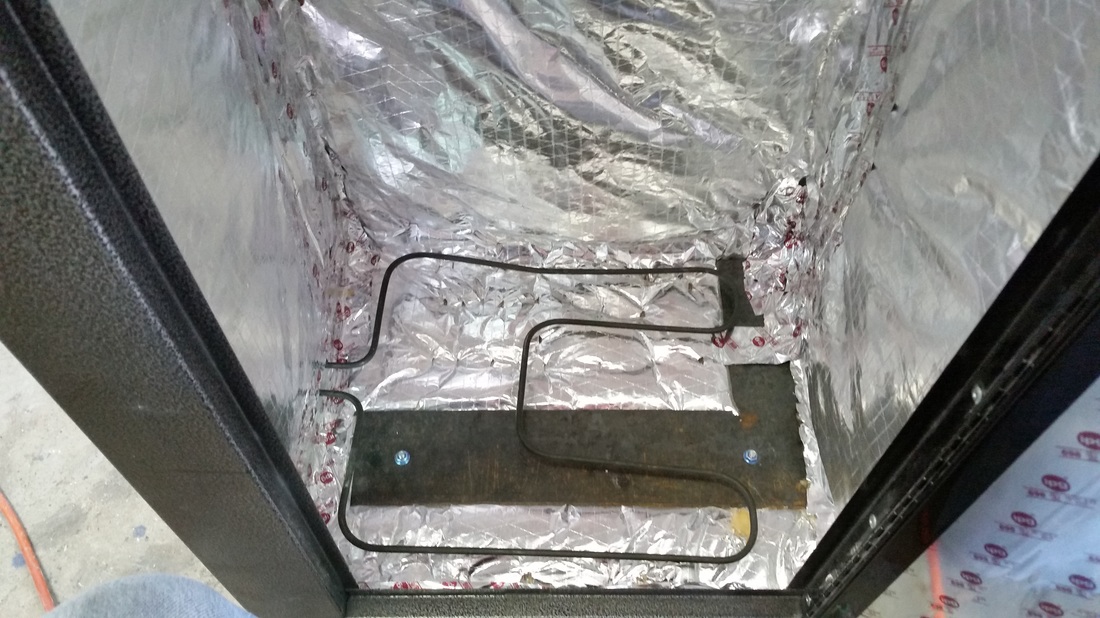
I started out taking all the stuff out of the cabinet. I located where I was going to put the element. I cut the hole in the cabinet for the element to protrude.
I was going to build the cabinet myself but after some research and looking for steel I decided I would be money and time ahead to just find a cabinet that would work. Here is a parts list of what I used to build my oven.
PID controller with thermocouple and ssr
Electric oven element
Contactor
Stack-On® 21" Buck Commander Bow and Gear Storage Cabinet
1- 4x8 sheet of 5/8 drywall I needed more to do door but at this point it is working fine without it on the door.
Duct insulation
Electrical junction box
15 amp standard light switch
220 oven/drier cord
Shelf hangers
Misc bolts and hardware.
I started out taking all the stuff out of the cabinet. I located where I was going to put the element. I cut the hole in the cabinet for the element to protrude.
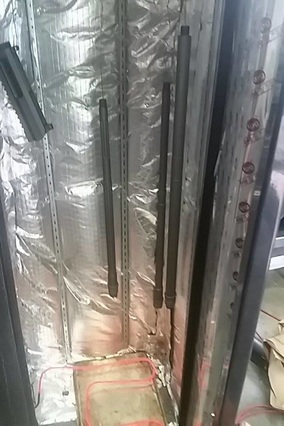
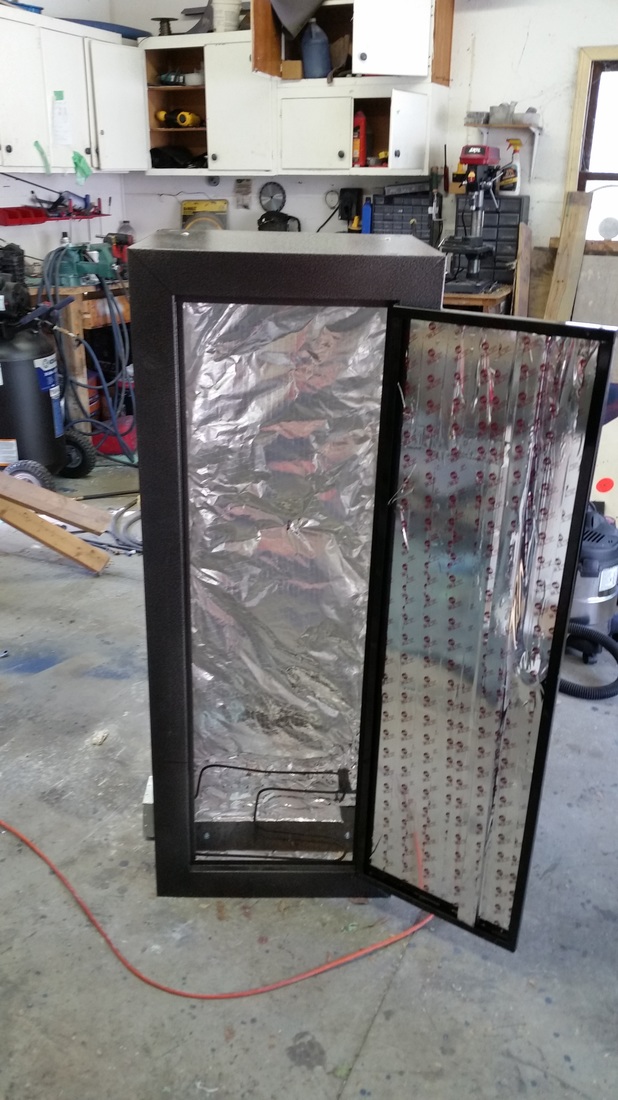
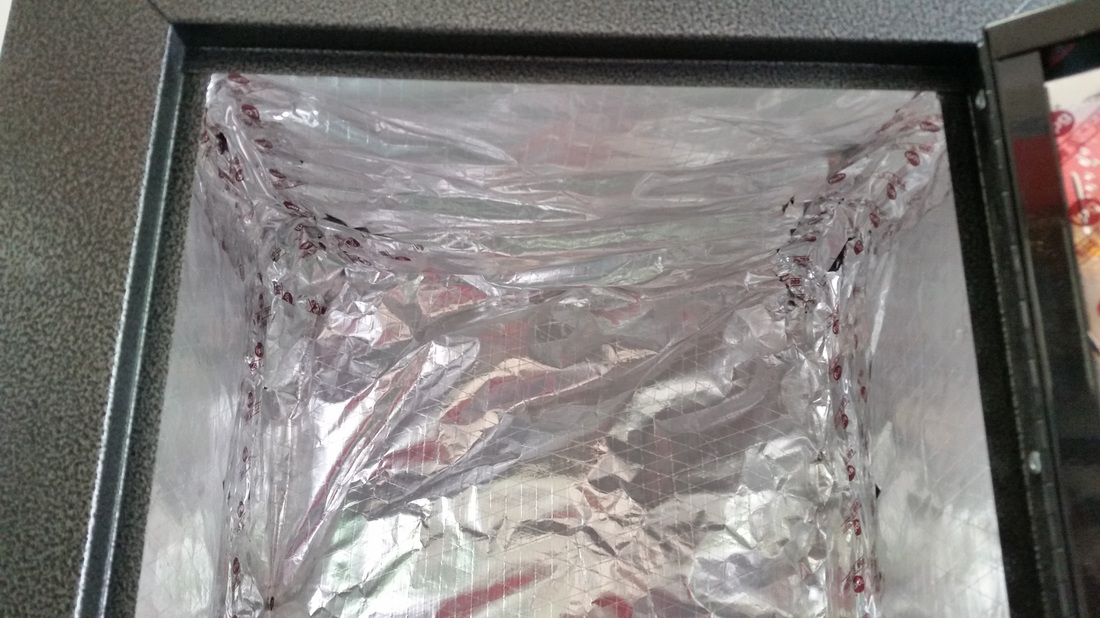
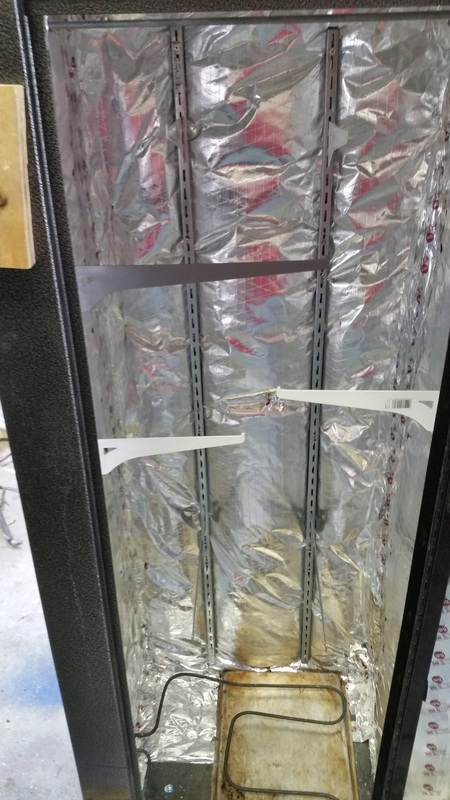
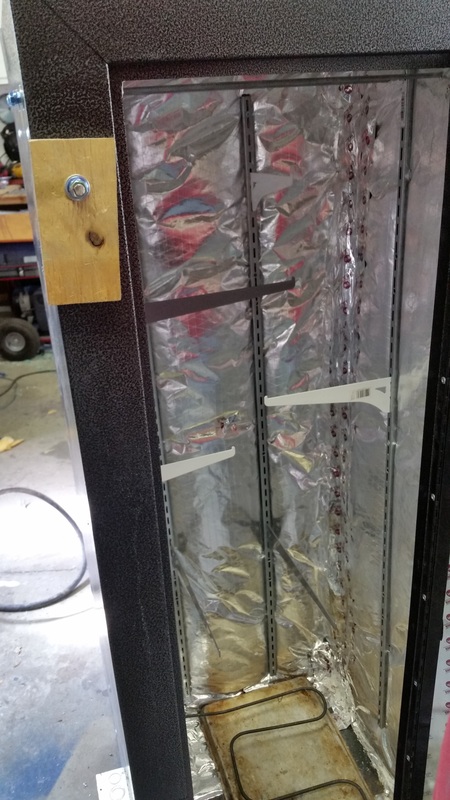
Once that was done I installed the drywall. I used 1/4" carriage bolts and fender washers to hold it in. I then lined it with the duct insulation by stapling it to the drywall.I taped the seems with aluminum tape also taping the inside of the door.
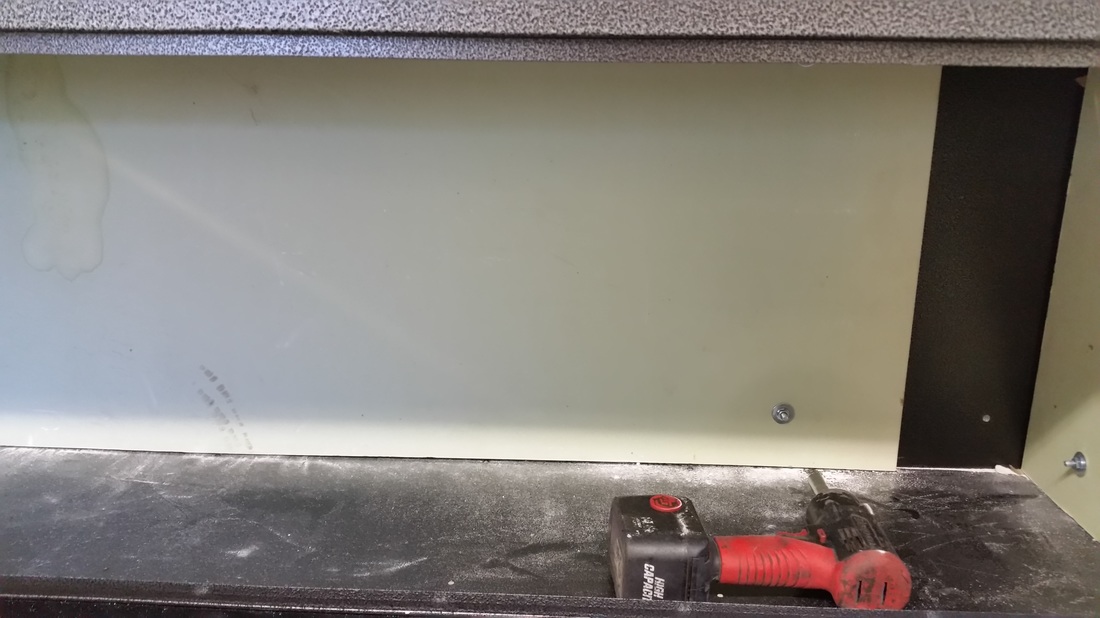

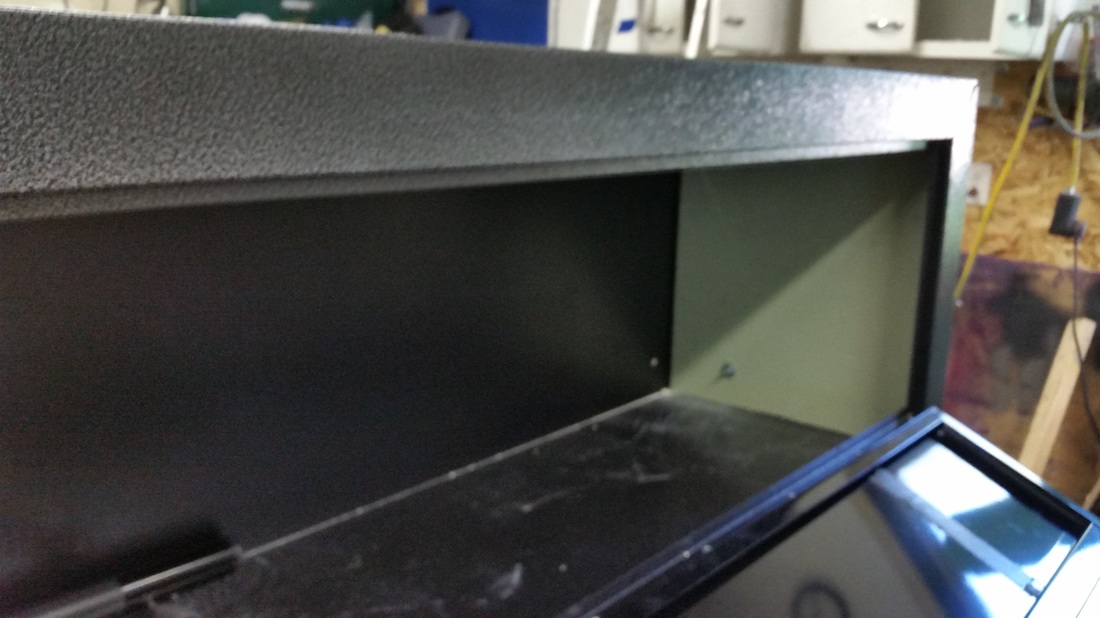
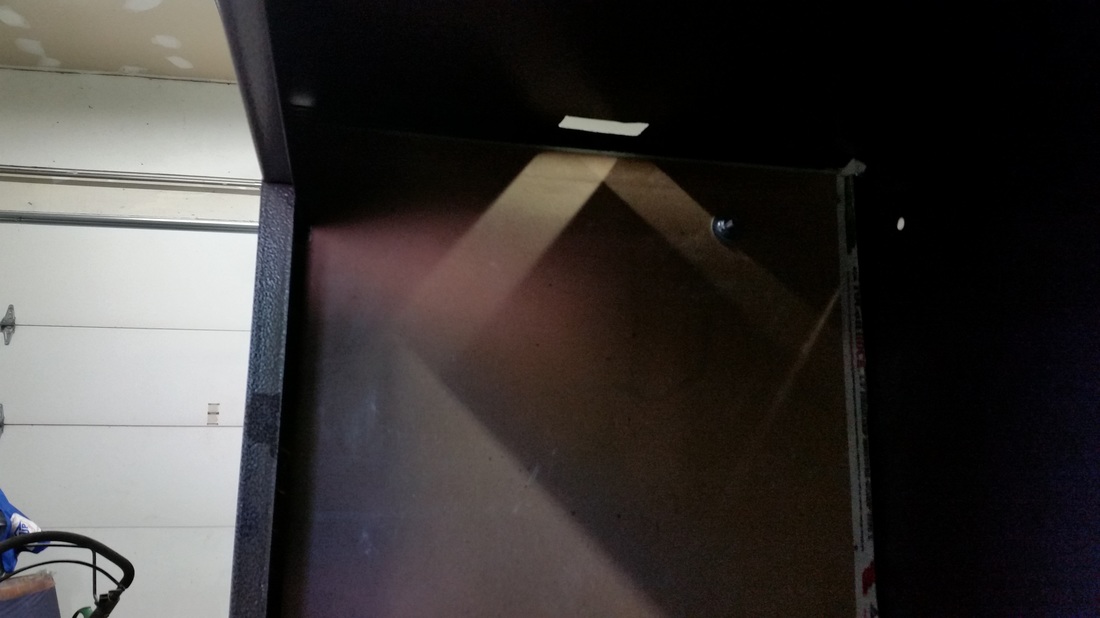
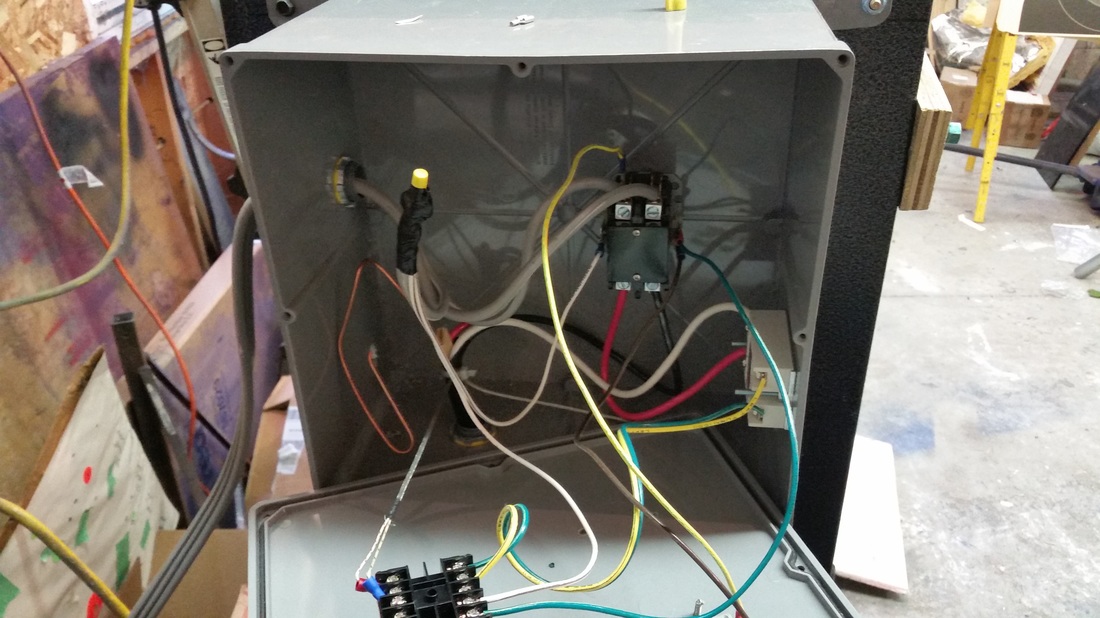
I then mounted the element and box and installed the shelf bracket rails. Now it is all done on the inside and ready to wire

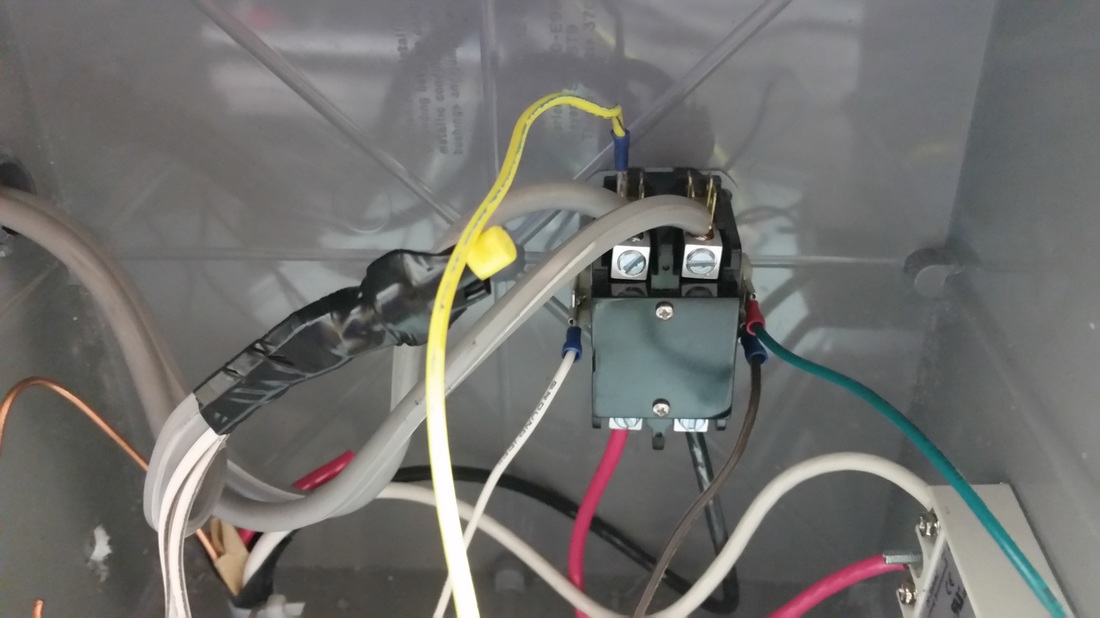
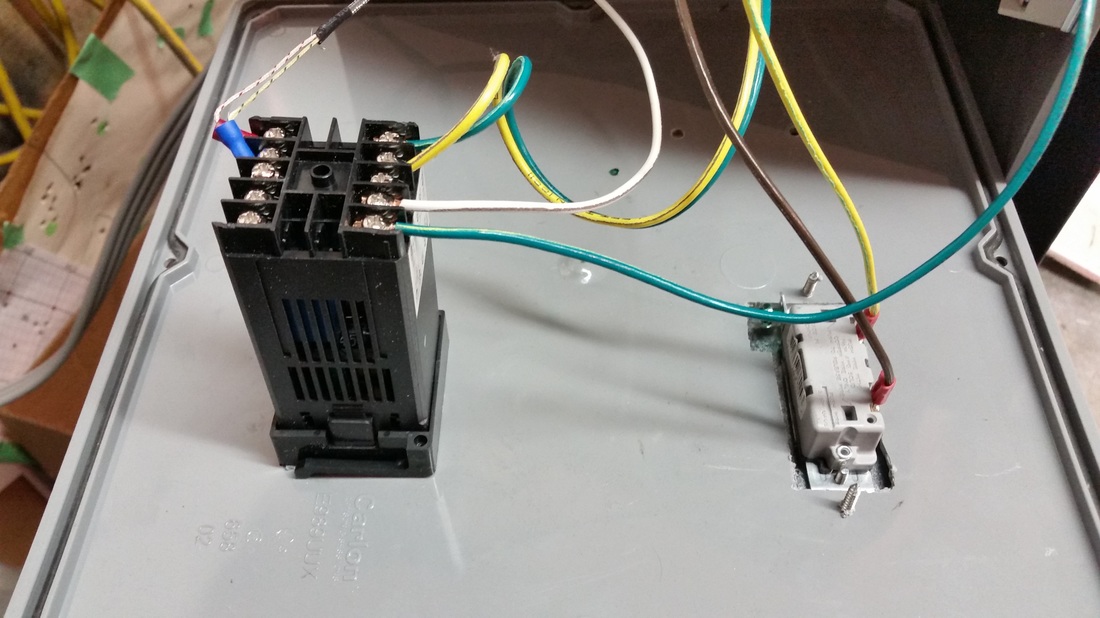
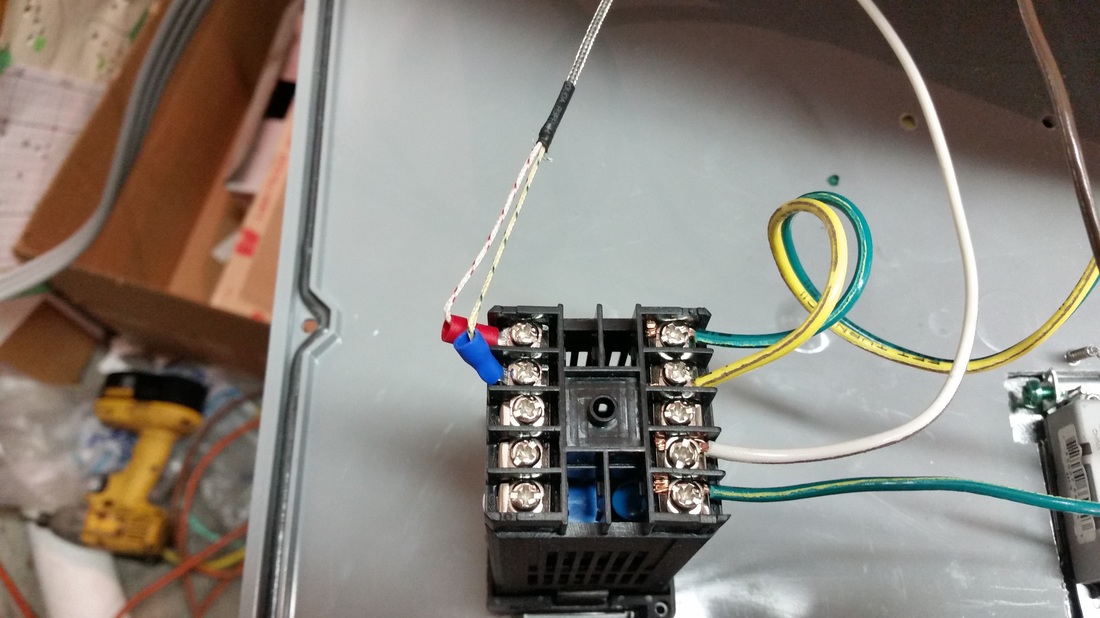
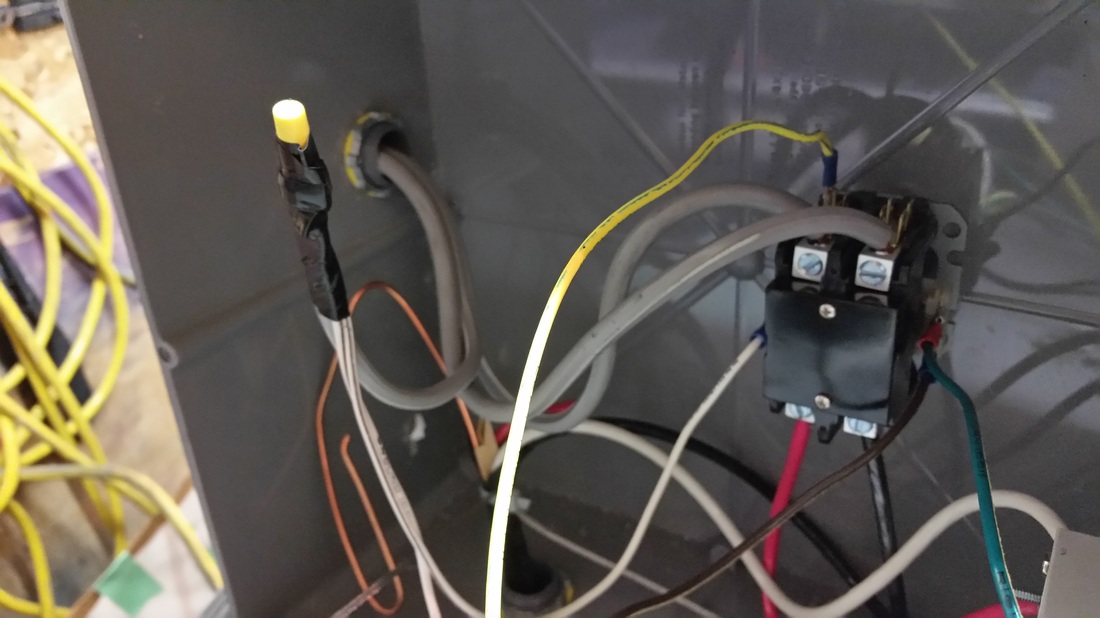
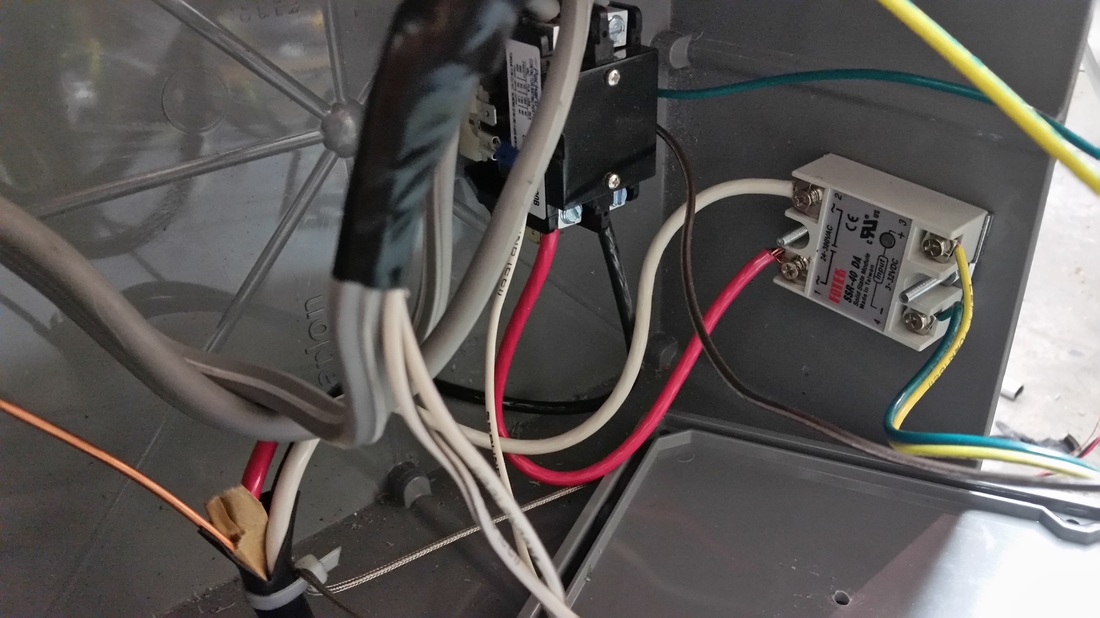
The wiring is the tricky part. For me I got mine done and wired and it didn't work. I needed 110v to power the pid and contactor and made an assumption that was wrong. so with my design I had to run a 110v power and 220 to my box to get it to work.
After the first run I rechecked why my first wire diagram didn't work and found out when I wired my breaker box in the garage I forgot to tie both ground rails together so when I used the center wire for my common wire it wasn't connected to the common rail. I rewired my breaker box correctly by installing the jumper wire from rail to rail and then wired it as I had the first time and now it works fine and I don't need the extra 110 cord to power the box
here is my box and here is a couple of different wire diagrams to give an idea how to wire.


Over all it turned out well and it works that is the important thing. couple of things to watch for: when buying your pid make sure it is a F deg. and not Celsius if you don't want to make a conversion chart like I had to do.Make sure to get aluminum foil tape not just reflective duct tape.
 RSS Feed